How to get your deck ready for spring — 7 easy steps
Some practical tips for cleaning your deck

The clocks have changed, the weather has warmed and spring is officially upon us. So it’s the perfect time to step outside and give your deck the attention it deserves.
After a long winter of rain, frost, and general neglect, your deck is likely looking a little worse for wear — but a quick refresh can make it ready for everything from sunny lunches to Easter egg hunts.
Taking care of it now not only improves the look of your outdoor space, but also helps extend the life of your deck and yard, keeping it safe for everyone who uses it. And it doesn’t have to be a huge, time-consuming project.
Here’s a simple seven-step plan to bring your deck back to life this spring.
1. Inspect for winter damage
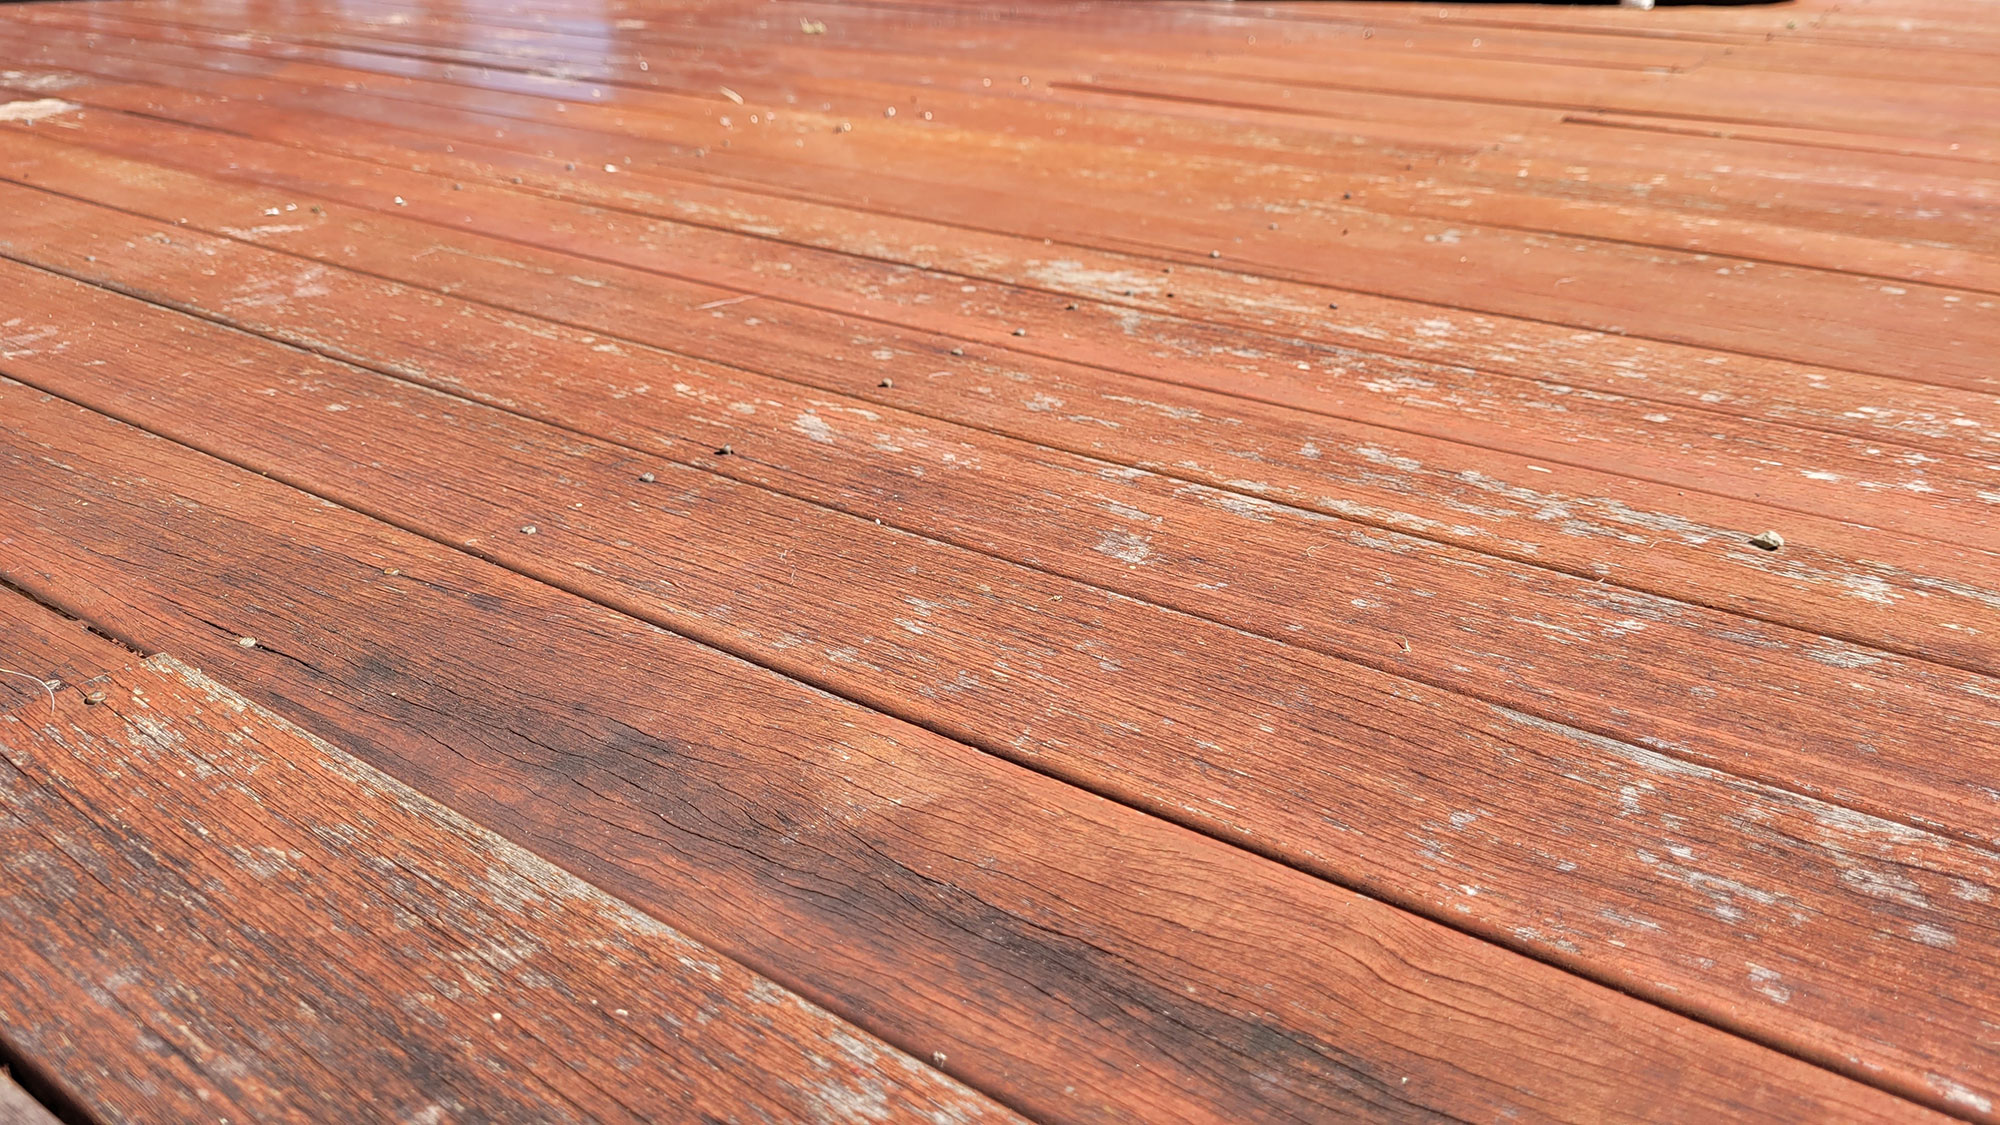
Winter can be particularly harsh on outdoor wooden structures. Before you start the cleaning process, take a thorough walk around your deck to identify any potential issues that need addressing.
Pay special attention to areas that might have remained damp throughout winter, as these are prime spots for rot to develop.
Check between boards where moisture can become trapped, and examine any sections that don't get much sunlight. Press firmly on suspicious-looking spots to test for softness, which could indicate rot beneath the surface.
Also inspect the structural integrity by checking for loose boards, wobbling railings, or protruding fasteners.
A gentle bounce test can reveal if joists have weakened over time — excessive movement suggests structural issues that might require professional attention before proceeding with your spring refresh.
2. Clear away any debris

Winter leaves a messy calling card of fallen leaves, twigs, dirt, and sometimes moss or algae build-up. Start your spring cleaning with a thorough sweep using a stiff-bristled broom to remove surface debris.
For debris trapped between deck boards, a putty knife or specialized deck cleaning tool works wonders.
This step is crucial as accumulated organic matter between boards creates a moisture trap that accelerates wood deterioration and creates perfect conditions for mold growth.
Pay particular attention to corners and edges where debris tends to accumulate. Not only does this improve appearance, but it also prevents moisture retention that leads to premature aging and potential safety hazards from slippery surfaces.
3. Deep clean the surface
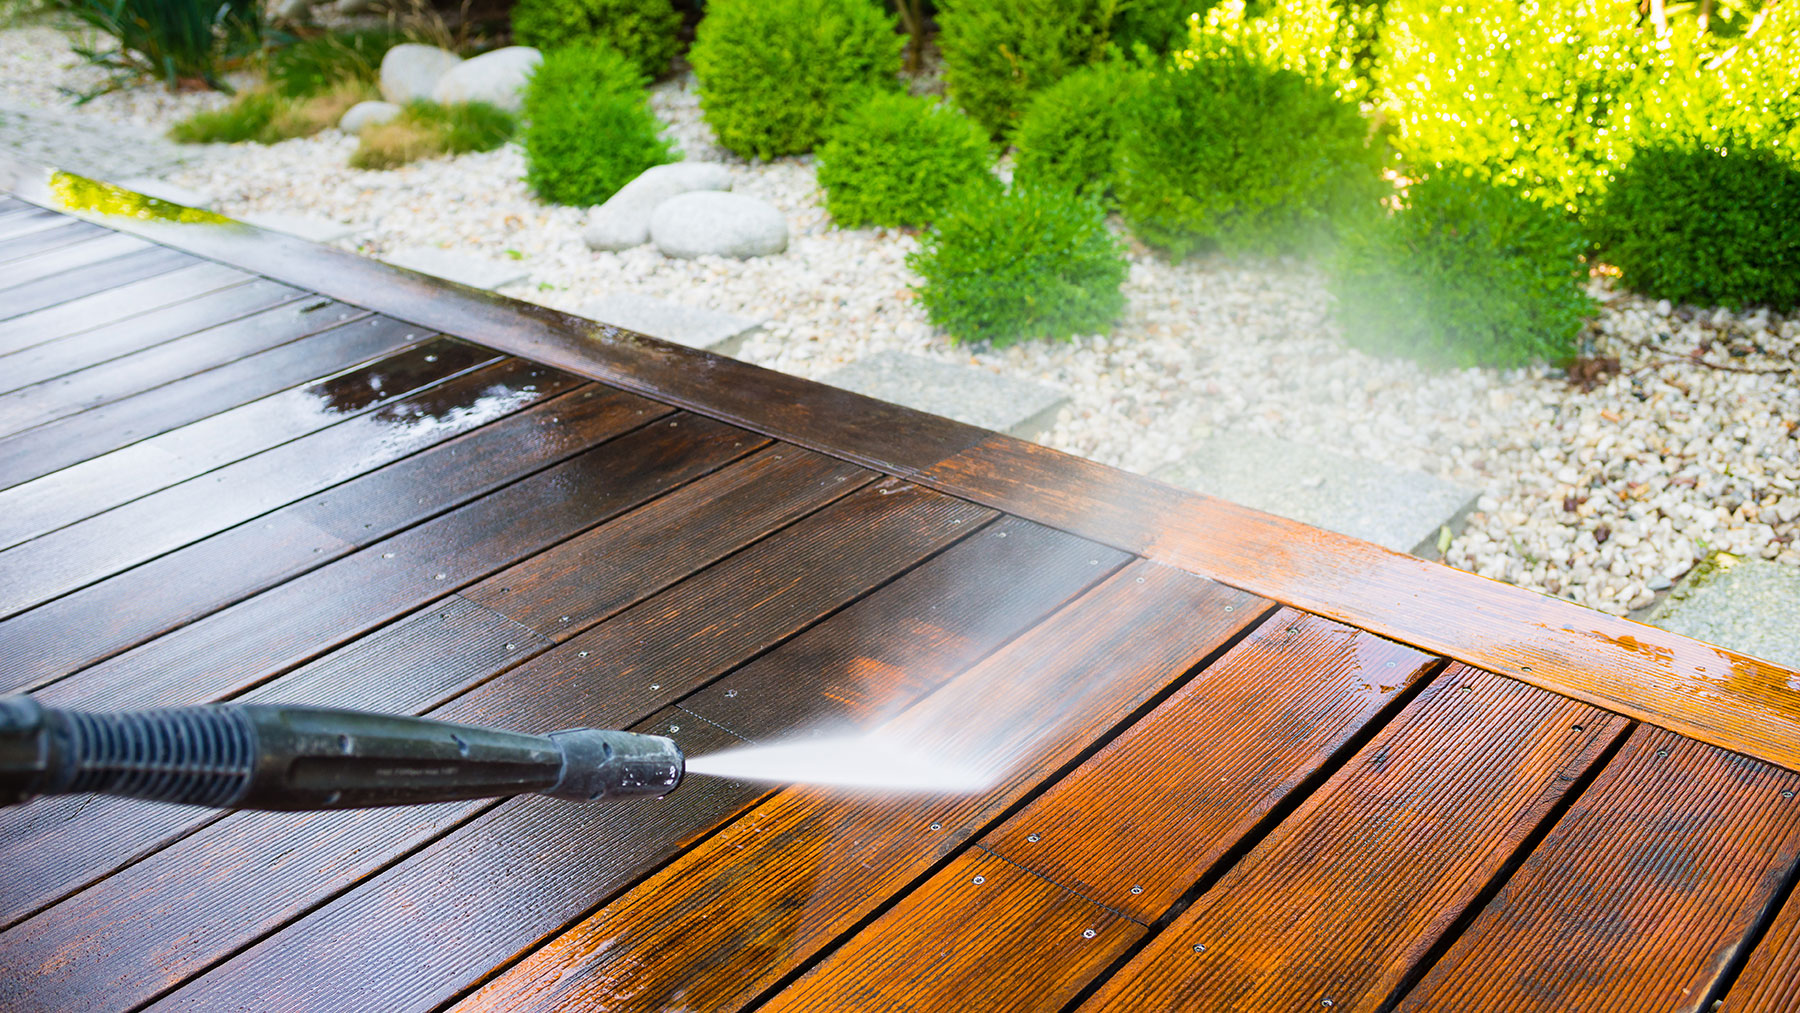
Once the deck is clear of debris, it's time for a deeper clean to remove ingrained dirt, algae, and any mildew that has developed over time.
For wooden decking, choose a cleaner specifically formulated for the job — ordinary household cleaners often lack the right properties for outdoor wood.
Apply your cleaner following the manufacturer's instructions, typically working in small sections with a stiff brush or a pressure washer on its lowest setting.
When using a pressure washer, keep the nozzle at least 6 inches from the wood surface to avoid damaging the fibers.
For composite decking, take a gentler approach. A mild solution of dish soap and warm water applied with a soft brush is usually sufficient. Avoid harsh chemicals or high-pressure washing which can damage the protective layer on composite materials.
Regardless of your decking material, always rinse thoroughly after cleaning and allow the deck to dry completely before moving to the next steps.
4. Make necessary repairs
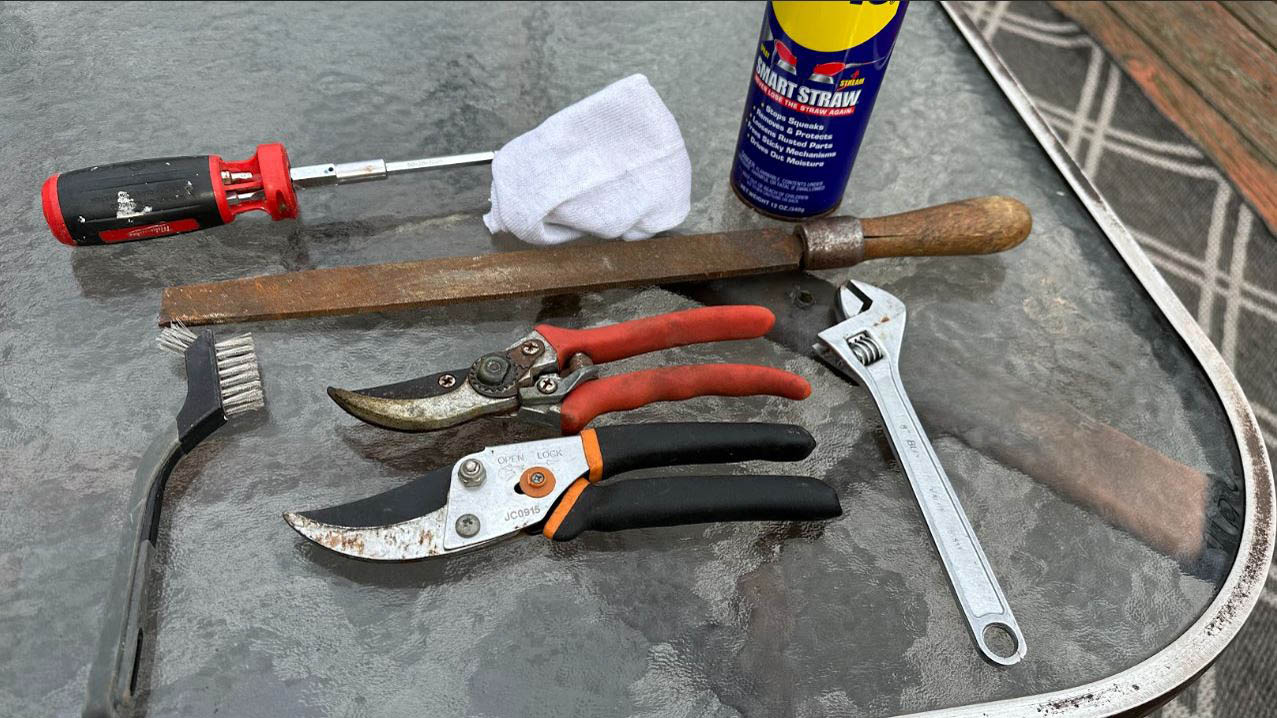
With your deck clean and dry, any damage will be much easier to identify and address. Now's the time to make those small repairs before they develop into more significant problems.
Replace any boards showing signs of severe cracking, splintering, or rot. For minor cracks, consider using a wood filler appropriate for outdoor use. You can sand down rough patches or splinters to create a smoother surface for applying sealants if needed.
Check all fasteners and tighten any loose screws or nails. If screws are stripped or nails are popping up repeatedly, replace them with slightly larger screws or deck-specific fasteners designed for better holding power.
Don't forget to check railings, steps, and any built-in seating. These high-use areas often show the first signs of wear and create potential safety hazards if not maintained properly.
5. Apply protective treatments
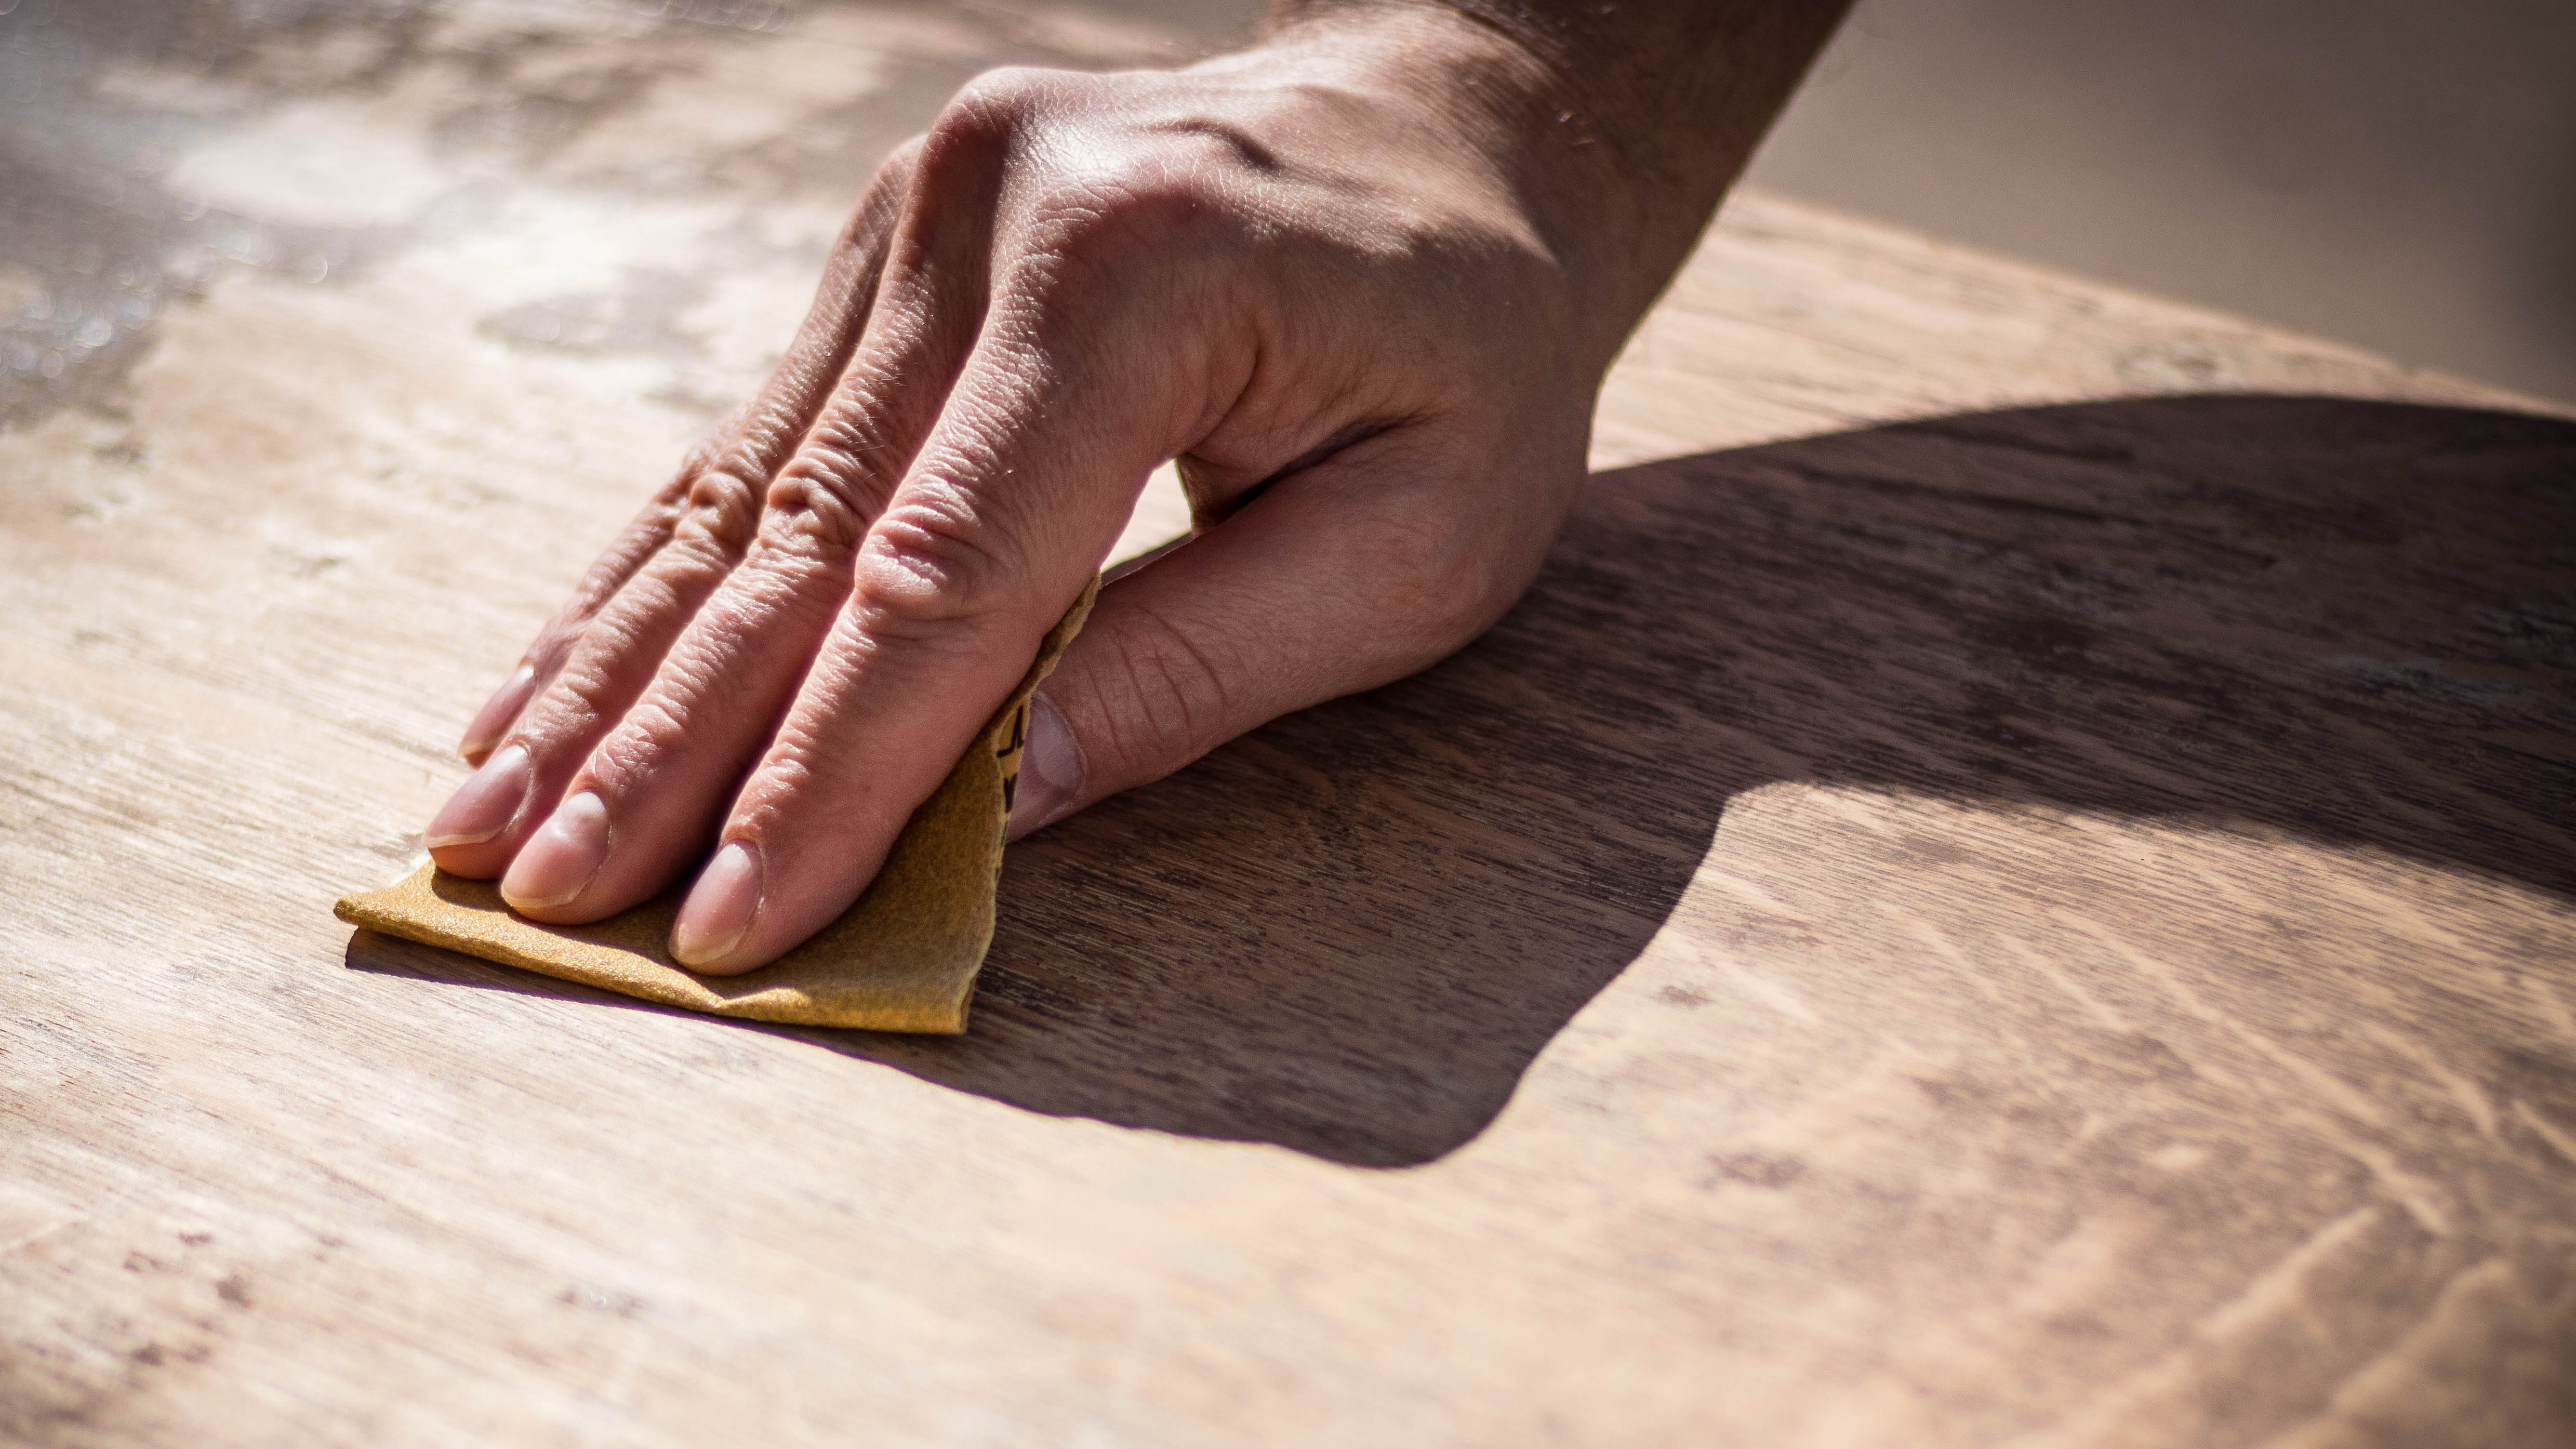
Protecting your deck from the elements is essential for extending its life and keeping it looking great. The right approach depends on your decking material.
For wooden decking, apply a quality water-repellent sealant, stain, or decking oil after the surface is completely dry. Choose products specifically formulated for exterior wood that offer UV protection to prevent fading.
Apply with a brush, roller, or pad applicator, working with the wood grain in even strokes. Most decks benefit from resealing every 1-2 years, though this varies based on your local climate and deck exposure.
Composite decking generally requires less maintenance, but can still benefit from periodic treatment with a UV-protective sealer to prevent fading, especially in areas with intense sunlight.
Always check your manufacturer's recommendations, as some treatments may void warranties on certain composite materials.
Allow any treatments to dry thoroughly according to the product instructions before placing furniture back on the deck or subjecting it to heavy foot traffic.
6. Create an inviting outdoor space

Start by cleaning and refreshing your outdoor furniture. Wipe down tables and chairs, and consider refreshing cushions with a thorough cleaning or new covers.
Add color and life with plants in various containers. Consider a mix of seasonal flowers, hardy perennials, and perhaps some herbs or small vegetables if you enjoy gardening.
For evening enjoyment, incorporate outdoor lighting. Solar-powered path lights, string lights, or LED lanterns create ambiance while improving safety. Consider layering different light sources at varying heights for the most attractive effect.
An outdoor rug can also tie the space together, adding comfort underfoot and defining the living area.
Choose weather-resistant materials specifically designed for outdoor use that can withstand exposure and are easy to clean.
7. Establish a maintenance routine

Maintaining your newly refreshed deck throughout the spring and summer requires minimal effort if done consistently.
Implement a weekly routine of sweeping the deck to remove leaves, dirt, and debris. Quick cleanup of spills helps prevent staining, particularly important for wooden decking.
Consider keeping a small brush and cleaning supplies easily accessible for immediate attention to messes.
Monitor your deck regularly for early signs of problems. Look for discoloration that might indicate moisture issues, check fasteners remain secure, and watch for any insect activity. Catching problems early typically means simpler, less expensive fixes.
For wooden decks, plan to reapply protective treatments according to the product guidelines and your climate conditions.
In most regions, annual treatment is sufficient, but areas with extreme weather may require more frequent attention.
With these seven steps completed, your deck will be ready to serve as the perfect outdoor extension of your home throughout the warmer months. While you're here, why not take a look at some of our other gardening articles?
For a beautiful garden, check out 7 colorful flowers to plant in April for a vibrant summer garden and 9 perennial flowers to plant in April for blooms year after year. And don't miss 7 beginner-friendly vegetables in April for a stunning summer harvest.
Sign up to get the BEST of Tom's Guide direct to your inbox.
Get instant access to breaking news, the hottest reviews, great deals and helpful tips.

Kaycee is an Editor at Tom’s Guide and has been writing for as long as she can remember. Her journey into the tech world began as Cazoo's Knowledge Content Specialist, igniting her enthusiasm for technology. When she’s not exploring the latest gadgets and innovations, Kaycee can be found immersed in her favorite video games, or penning her second poetry collection.
You must confirm your public display name before commenting
Please logout and then login again, you will then be prompted to enter your display name.
